Weather stripping around your doors and windows is one of the easiest and most effective ways to keep bugs out of your home. As winter approaches critters will try to make their way inside where it’s warm and dry. Good weather stripping seals the entry points to your home keeping the heat in and the bugs out. Fall is here, and while preparing for the winter weather, it’s important to make sure you have the right barriers in place to protect your home. Not sure where to start? See our guide with additional information for winterizing your home here.
Check your Doors and Windows
Check each window and exterior-facing door in your home for signs that weather stripping should be added or replaced. One telltale sign is seeing daylight shine through the areas around your windows and doors while they’re shut. You can also do this test at night. Ask a friend to shine a flashlight around the perimeter of a door or window while you stand outside in the dark. If you can see light coming through, it’s time to replace the worn weather stripping or add it if not installed. It doesn’t take much room for roaches, spiders and other intruders to get inside.
How to Apply
There are several different types of weather stripping: felt, foam tape, v-channel, and door sweeps.
Doors need two types, a tape to go around and a door sweep for the bottom. Different windows call for different types of weather stripping. If your windows are double-hung (they open from the top and
bottom), you’ll need v-channel stripping. If you have casement windows (they have a crank to open), you’ll just need tape. Felt tape and foam tape are both inexpensive and easy to use. Foam tape tends to be more durable and tolerates moisture better.
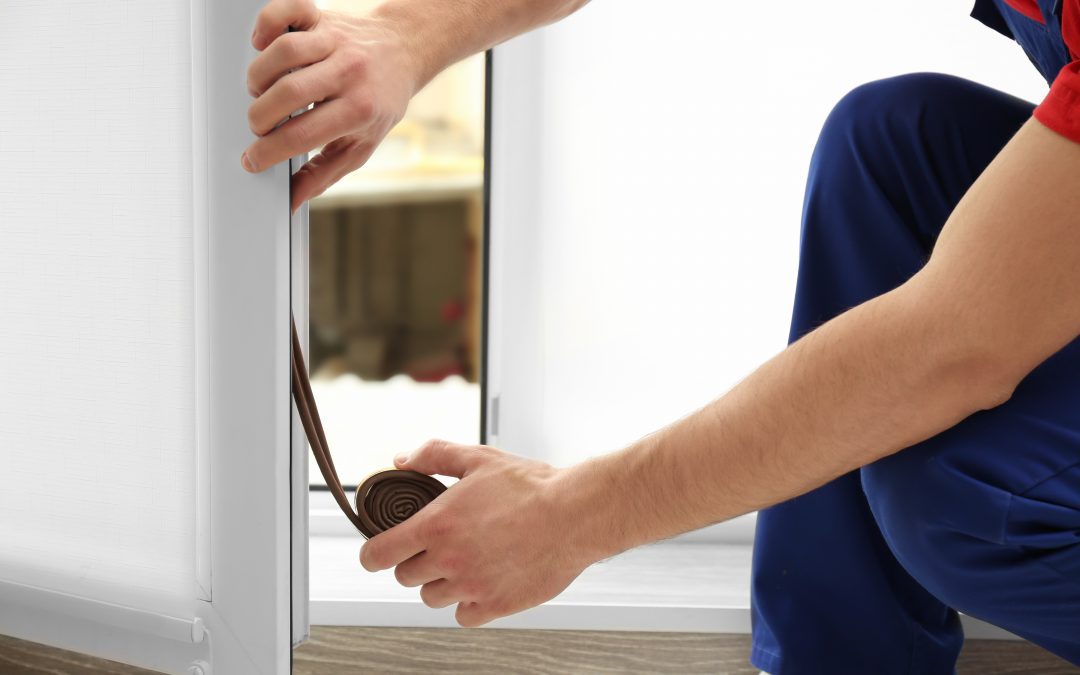
Once you identify the type of window you have and weather stripping you need, it’s time to install. The installation process is simple: clean the surface, cut to the correct size, peel, and apply.
If you want more information on how to install weather stripping, click here for windows and/or doors.
Recent Comments